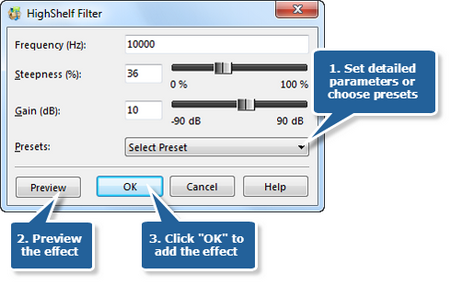
An audio filter is a circuit, working in the audio frequency range, which processes sound signals. There are many types of audio filters, each of them is typically designed to pass some frequency regions through unattenuated while significantly attenuating others.
MP3 Editor for Free provides all the common audio filters. Users can bring your ear an enjoyable listening experience through simple clicks.
Step 1. Use filter effects to process sound signals
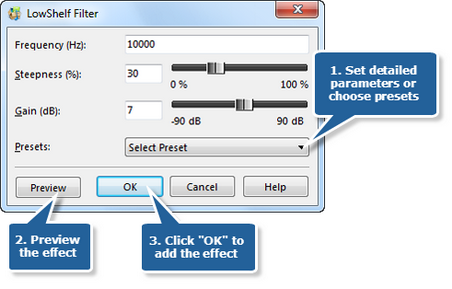
To add a filter effect, you firstly need to launch MP3 Editor for Free and add an audio file to the waveform window. Then click “Effect” tab and choose a filter effect from several kinds of filters to specify detailed parameters or apply some popular presets as wanted. Click “Preview” to listen to the music before adding the effects to the waveform to make sure you get exactly what you want. Click “OK” to add the filter effect to the selected region.
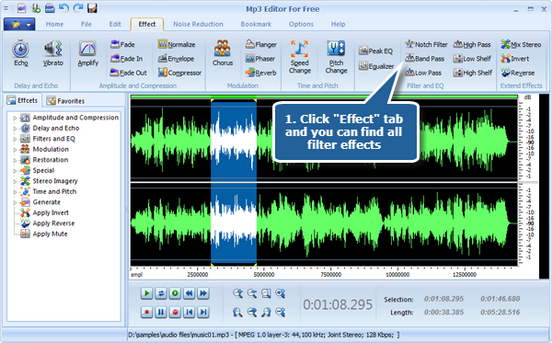
Step 2. Audio equalizer
Audio Equalizer is a signal processor that raises and lowers the strength of a sound wave. The goal of equalization (EQ) is to help achieve a good mix of sound that allows all instruments and vocals to sound good together. Equalization can target part of a sound based on the frequency amplitude, or height, of the sound wave. Removing sound is another equalization goal. A bass drum microphone may also pick up and record sounds from the cymbals. The problem of recording unwanted sounds is known as bleeding or leakage. To get a cleaner bass drum track, an engineer can use an audio equalizer to lower the high frequencies on the bass drum track. This effectively removes the cymbal leakage.
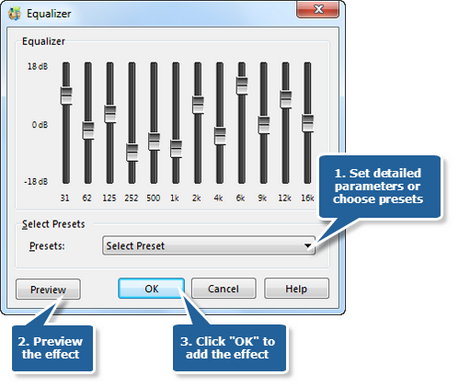
Step 3. Peak EQ filter
Peak EQ Filter is used to increase or decrease the frequencies around the specified value of the frequency. It can be used to cut/boost a very precise frequency. Usually it is utilized in the middle of the frequency range. If you select a part of the file with the mouse, this effect will be applied to this exact part of the file. Otherwise the sound of the whole file will be affected.
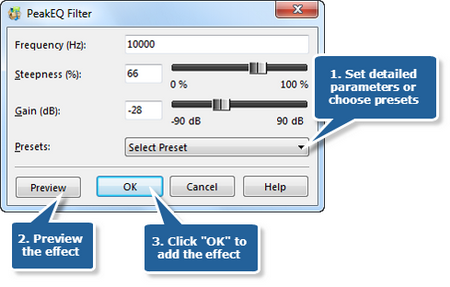
Step 4. Notch filter
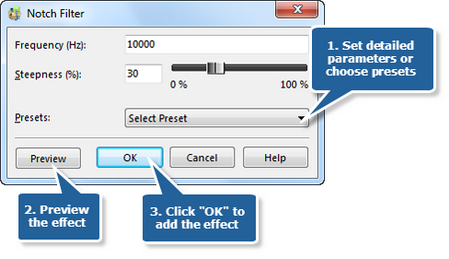
Notch Filter is a band-stop filter that has a narrow stopband. Click the button Notch Filter to set the frequency and the steepness or choose the preset filters of 10 kHz, 1 kHz and 200 Hz.
Step 5. Band Pass filter
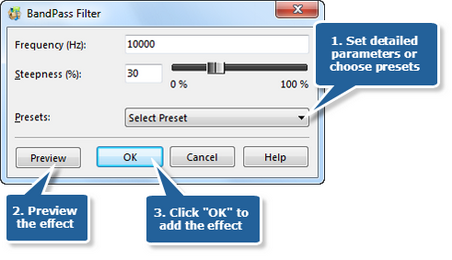
Band Pass Filter passes a limited range of frequencies. Click the button Band Pass to set the frequency and the steepness or choose the preset filters of 10 kHz, 1 kHz and 200 Hz.
Step 6. Low Pass filter
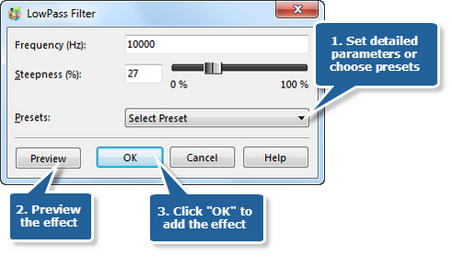
Low Pass Filter is often applied to remove high-frequency signals that you don’t want. Click the button Low Pass to set the frequency and the steepness or choose the preset filters of 10 kHz, 1 kHz and 200 Hz.
Step 7. High Pass filter
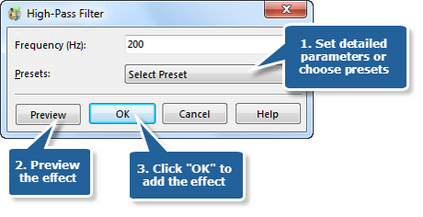
High Pass Filter, contrary to the Low Pass, removes the low-frequency parts. There are two presets offered: General Audio Cleanup and Radio/Telephone Quality Audio.
Step 8. Low Shelf filter
Low Shelf Filter allows all frequencies to pass when it increases or reduces frequencies below the cutoff frequency by specified amount. Click the button Low Shelf to set the frequency and the steepness or choose the preset filters of 10 kHz, 1 kHz and 200 Hz.
Step 9. High Shelf filter
High Shelf Filter, contrary to the Low Shelf, allows all frequencies to pass when it increases or reduces frequencies above the cutoff frequency by specified amount. Click the button High Shelf to set the frequency and the steepness or choose the preset filters of 10 kHz, 1 kHz and 200 Hz.
